13 Simple Steps to fabricate a chicken!
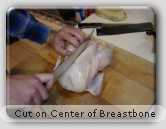
1.
Cut along center of Breast Bone.
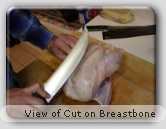
2.
Here you can view the cut made.
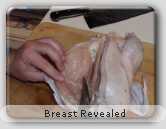
3.
Using the knife, I prefer a scimitar but a filet knife would work well to, cut along one side of the breast bone to the base of the chicken.
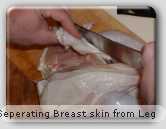
4.
Seperate skin that is attached to breast from leg quarter.
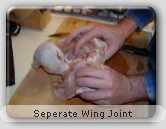
5.
With your thumb under the wing joint press upward and out to seperate joint.
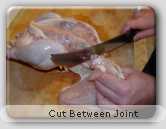
6.
With knife cut between joint to remove and cut any skin not seperated from carcase yet.
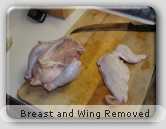
7.
Here is a picture of what removed breast and wing looks like.
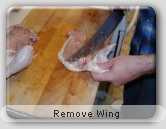
8.
Cut around wing joint to remove wing.
9.
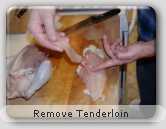
A small thin piece of meat located on underside of breast that can be removed by pulling it is the tenderloin, good for chicken tenders :). Repeat steps 3-9 for other side of breast.
10.
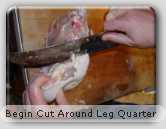
Cut around leg quarter going up high towards backbone then circleing down toward other side.
11.
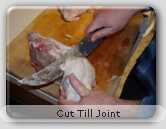
Halfway through you will hit the joint.
12.
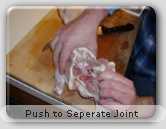
Using thumb push up and out to snap apart joint.
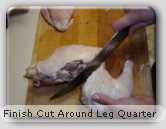
13.
Finish cut through joint to remove leq quarter. Repeat steps 10-13 for other leg quarter.